 Photos by Sarah Darrow
WARNING: Don’t let the simplicity of this DIY necklace convince you that you can conquer anything you find on Pinterest. I can’t lie, I’m not normally a DIY kind of person. I’m just not into the T-shirts turned into fringed scarves, and I don’t have bags of studs and stones just lying around. So as I was searching for a do-it-yourself project that seemed possible with my assortment of tools and spare material, I came across a necklace made with bobby pins and nail polish. You can create a whole statement necklace with bobby pins from end to end or keep it more minimalistic with just a handful. As hard as it is to part with bobby pins (since they always manage to disappear on their own), I knew that this necklace was something I’d actually wear. I went for a minimalistic approach in three easy steps.
Step 1: Gather your materials. Find nail polish colors that you think look nice together. I chose black, white, dark gray and light blue. You’ll also need a necklace chain, so either take apart a cheap Forever 21 necklace or steal one of your roommates’ chains. (Sorry, roommates.)
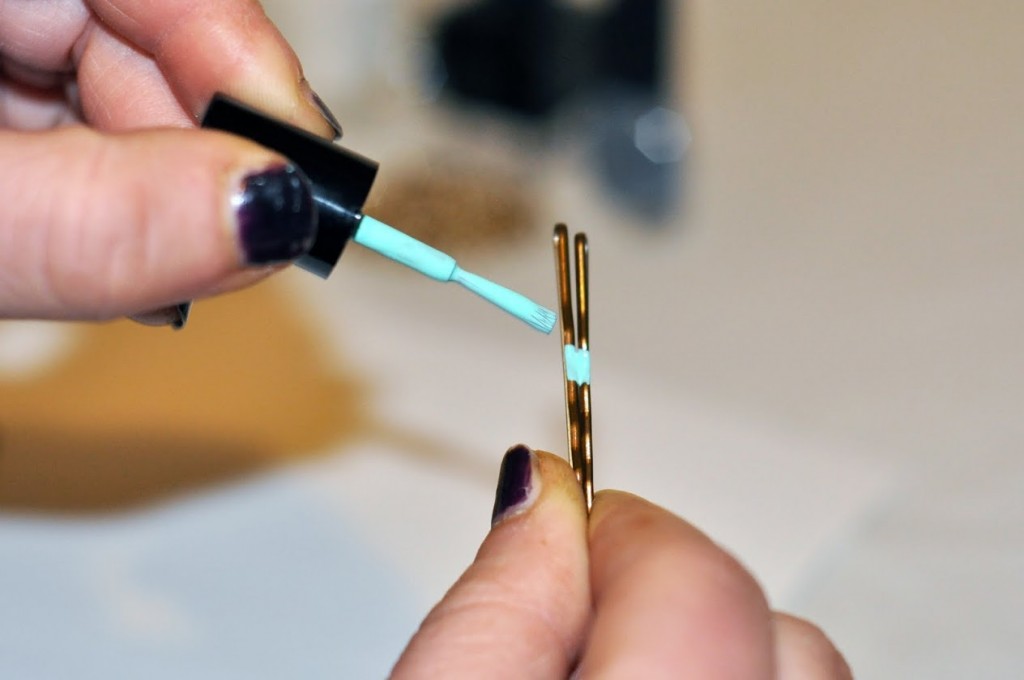
Step 2: Put down a piece of scrap paper or newspaper and begin painting your bobby pins. There is no pattern you need to follow, so make it up as you go along. You could make a striped pattern, create a color-blocked effect or just see where the brush takes you. Once painted, let them dry for two to three minutes.
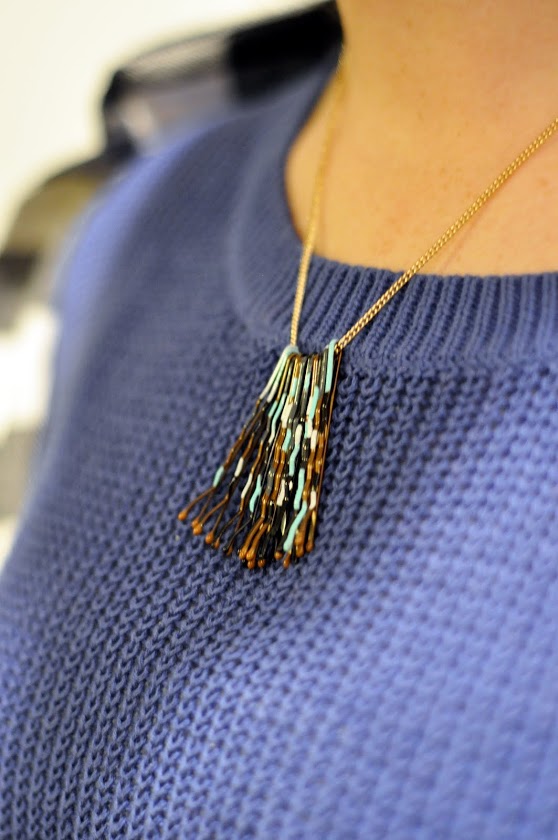
 Step 3: Once dry, simply place the bobby pins on the necklace. All you have to do is slip them over the chain in whichever order you like. Voilá, you’ve got a brand new necklace!
Now that you know how to make a statement with a one-of-a-kind necklace, use this idea for future birthday or holiday gifts, or make one for your own jewelry collection and wear it with something as simple as a gray V-neck or a button-down and sweater combo.